-WebP.webp)

Presser Foot in Sewing Machine-Types & Usage
- omemy tutorials
- Nov 29, 2021
- 5 min read
Updated: Jun 19, 2025

What is a Presser Foot?
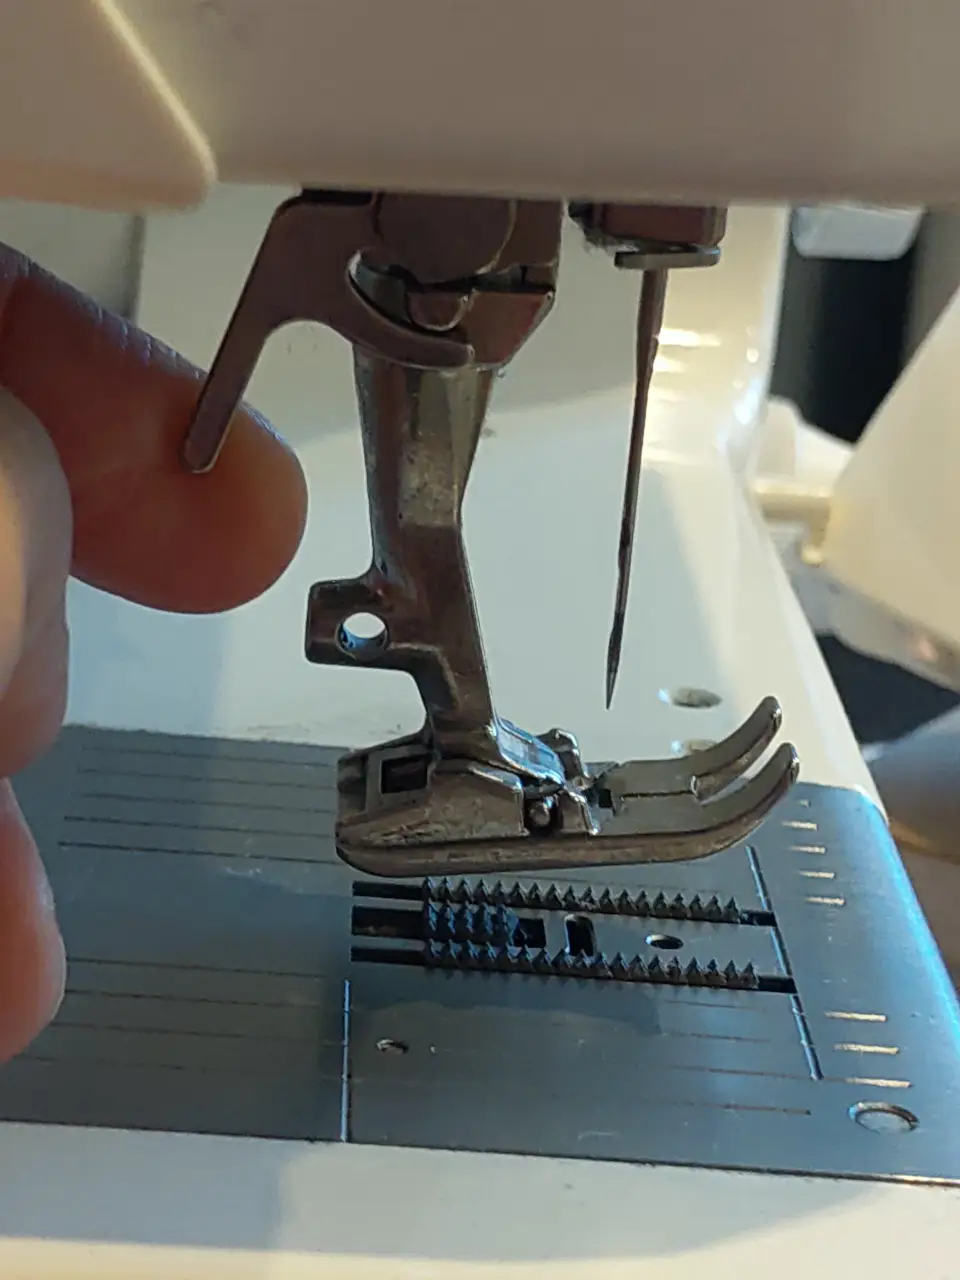
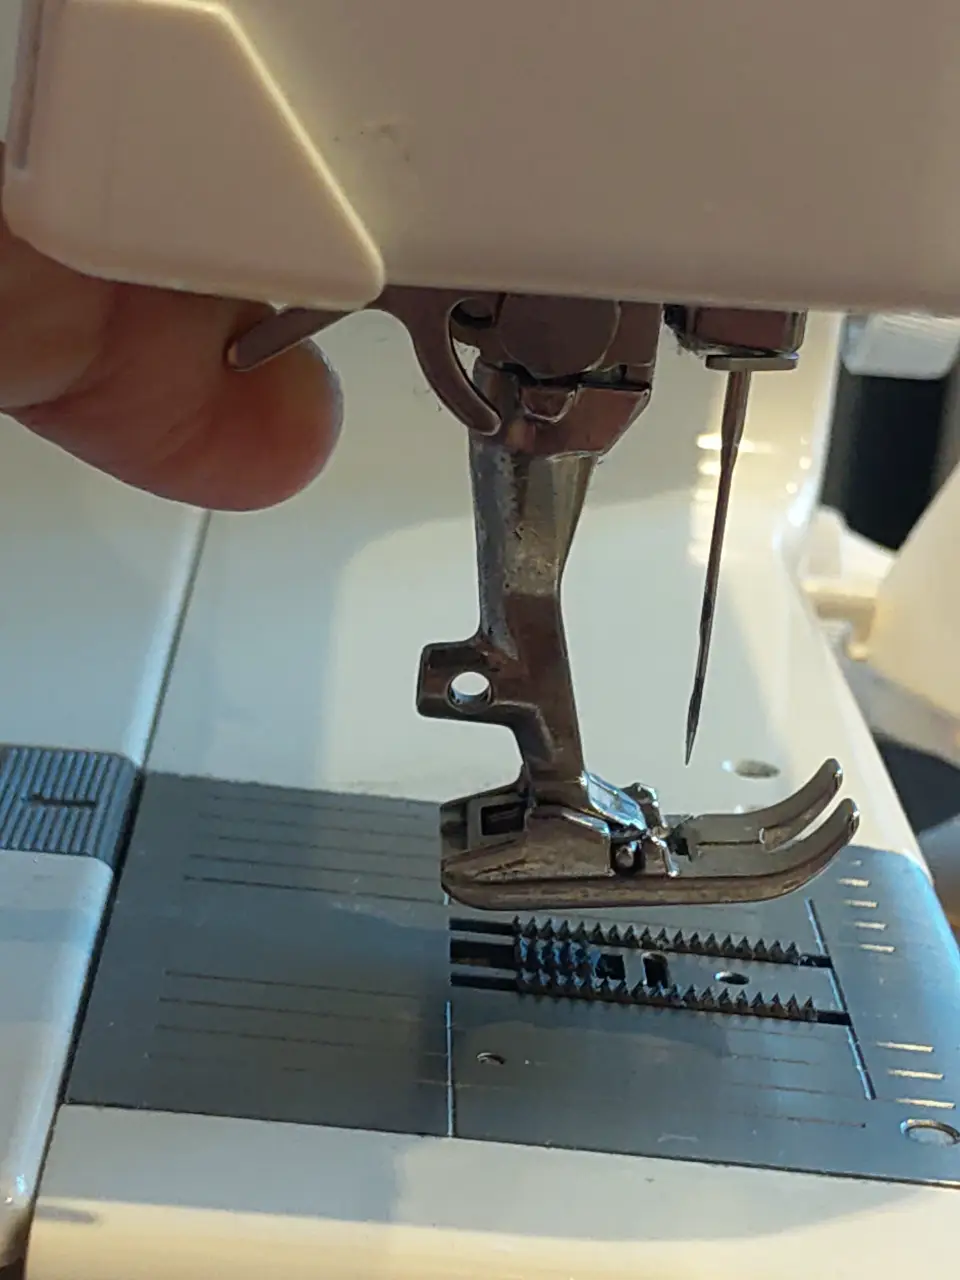
A presser foot is an attachment in a sewing machine that helps in feeding the fabric below the sewing needle while keeping the fabric flat during the process of stitching. Presser foot with the help of feed dog also helps in moving the fabric forward at a constant speed so that the stitch line is uniform. It is mandatory to keep the presser foot lowered down while stitching. Since presser foot plays a supportive role in feeding the fabric to the sewing needles in the machine, shape manipulations in presser foot can be effectively used to ensure varied sewing outcomes.
It is important to use the right design of presser foot for specialised sewing functions. This ensures safe use of sewing machine in addition to neat and speedy completion of sewing project. In this article, care has been taken to explain and group presser feet in terms of their utility so that audience can take decisions.
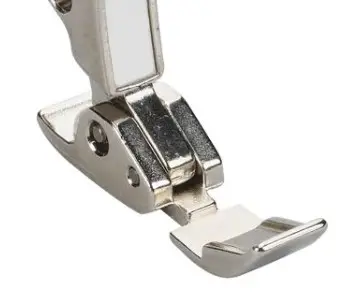
1. Straight line stitching: This is the most common type of sewing, machines are used for. Even the most complicated stitching projects use straight line seams in most stages of construction.

A basic all-purpose machine foot or a special straight line machine foot can be the two most suitable options for this kind of stitching project. Here the purpose of the presser foot is to help feed the fabric at a regular speed (therefore the feed dog gears are raised up and the presser foot is pressed down) & to make sure that fabric is held flat under the sewing needles. Thus, the presser foot has a flat base, has two feet that can become guidelines for straight stitching or have a thin needle hole and long groove so that a straight line stitch can be made.
2. Zig-zag / decorative line stitching: Most motorised machines have options for zig-zag stitching or other straight line decorative stitching. Most of these stitches are adaptations of zig-zag stitching and often require an alternate left-right wiggly movement of the machine needle. To accommodate this action, the eye of the presser foot needs to be rectangular in shape, providing enough room for sideways movement of the needle. The presser foot in this case also remains flat at the base, maintain regular feed of the fabric and ensuring a flat placement below sewing needles. Another presser foot that can be effectively used for this purpose is the 'Open-toe' or 'Wide toe' presser foot where the two feet are wide apart, leaving enough space in betwen for sideways needle movement.
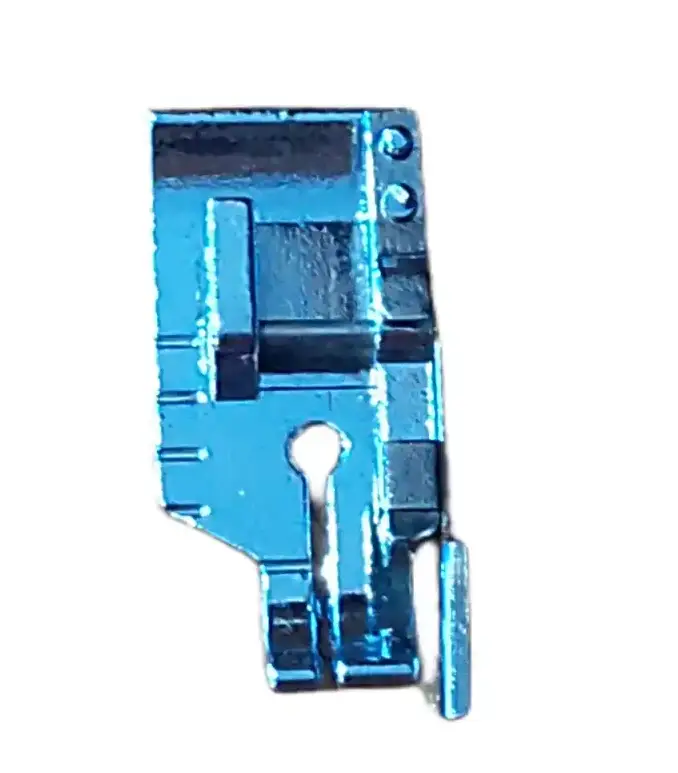
3. Zipper attachment: Zipper attachment can although be done with a regular presser foot, using a special zipper foot attachment ensures neater and more closely stitched zipper. A zipper has a raised line of teeth in the centre, which poses problem with a regular pressser foot. A zipper foot makes space for the raised central line, thus ensuring neat stitching.
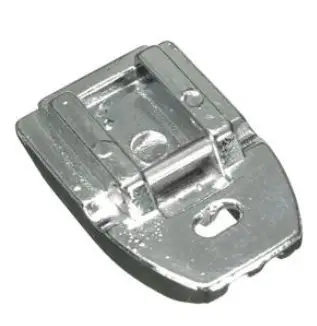
There could be two types of zipper feet, one for attaching centred zipper and another one for attaching a concealed zipper. The centred zipper foot has one foot instead of the two feet in regular zipper and machine needle can be adjusted on either sides of this foot. Thus one side is empty to accommodate the raised central line. A concealed zipper foot has a groove at the centre bottom of the presser foot. This allows space for the raised section and the machine can run over the zipper and stitch close to the teeth without risking needle breakage.
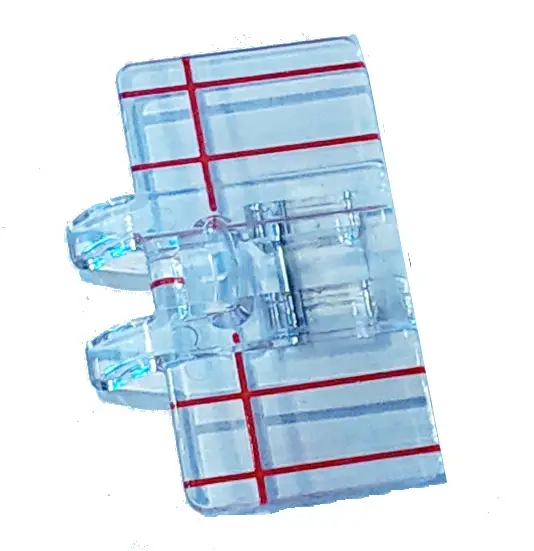
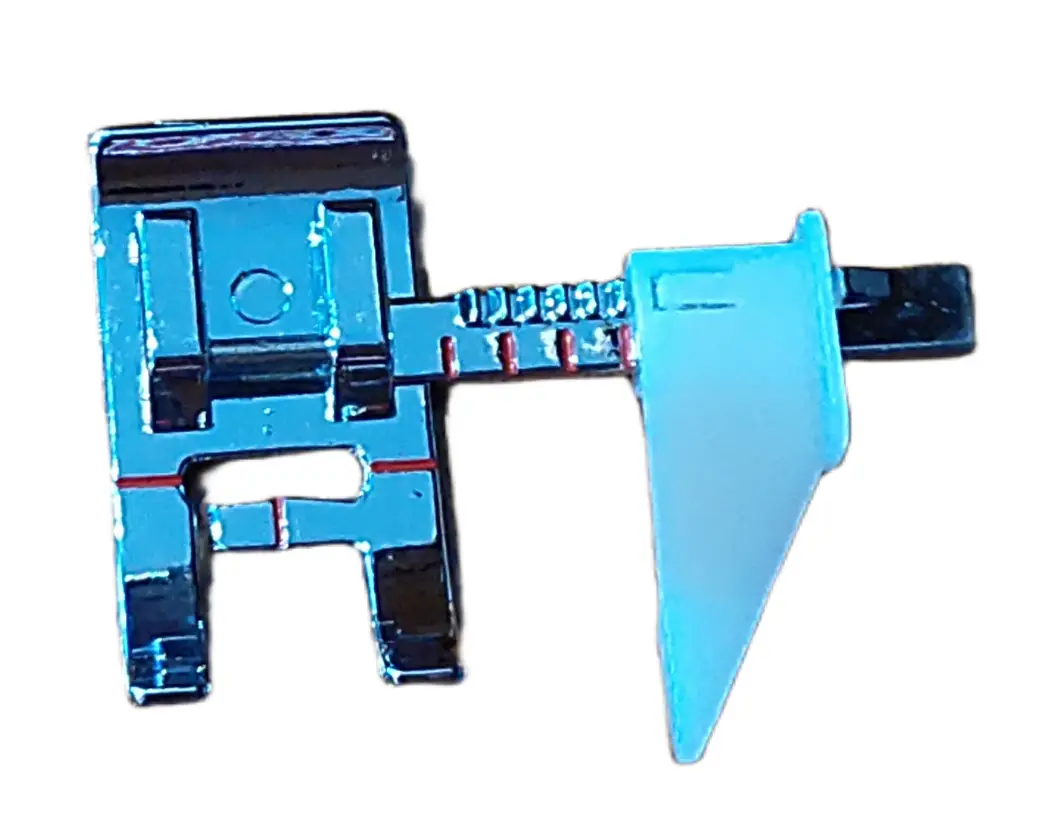
4. Quilting & Applique: Quilting and applique are activities that require straight line stitching in most cases. However, a worker often needs specific guidelines to be able to make stitch lines at measured distances. Adaptations of presser foot like the transparent acrylic foot (with or without markings), allow worker to view the fabric even below the presser foot and thus stitch close to the edge. Additionally, there are specialised metallic zipper feet with marked grooves or ruler attached to them. Thus a free-form measured stitch line can be placed without having to mark them on the fabric.
Presser Foot with Seam Markings
5. Raw edge finishing: Specific presser foot attachments allow rolling and stitching the raw edge of the fabric simultaneously, providing a binding like finish to the fabric edges. There are multiple special attachments that can be used for attaching binding, cords or rolling over the fabric over itself to achieve a finished edge.
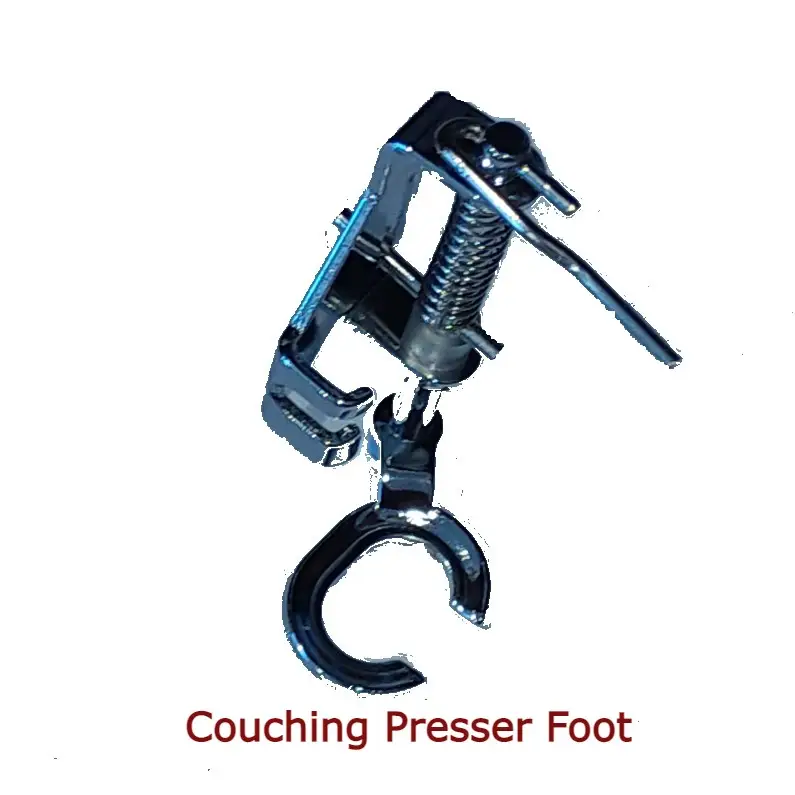
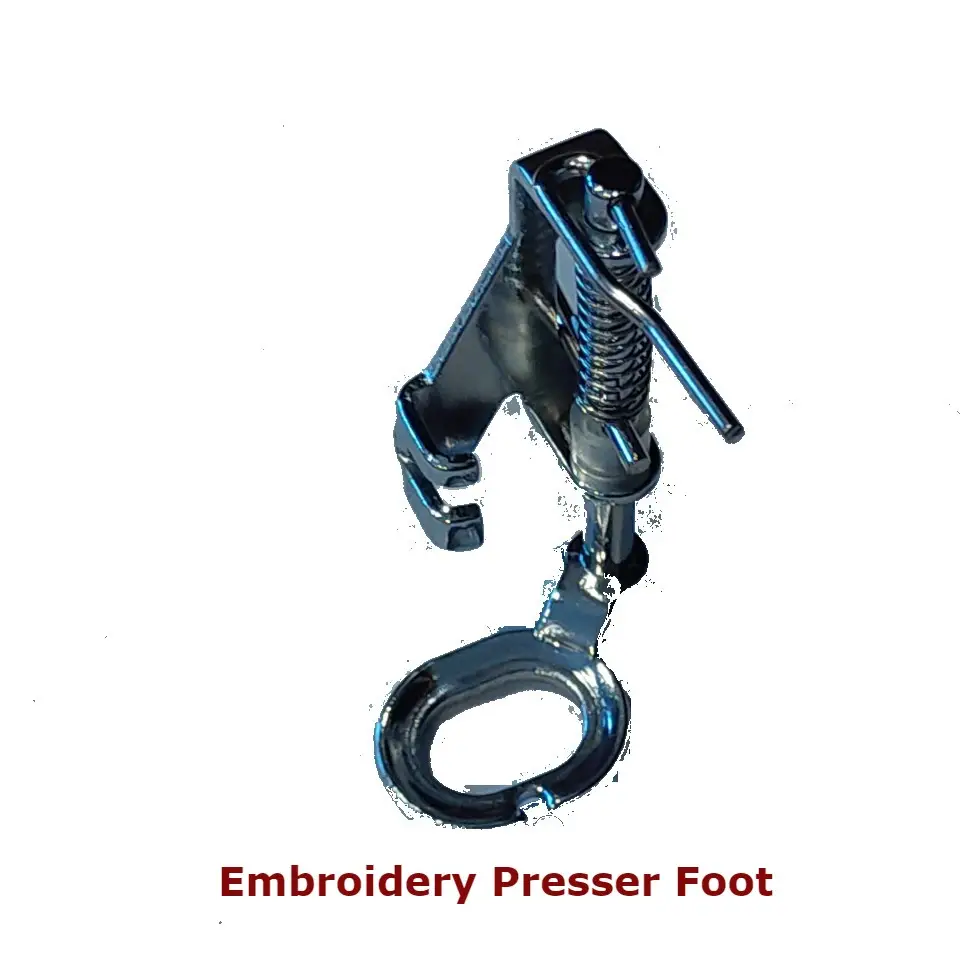
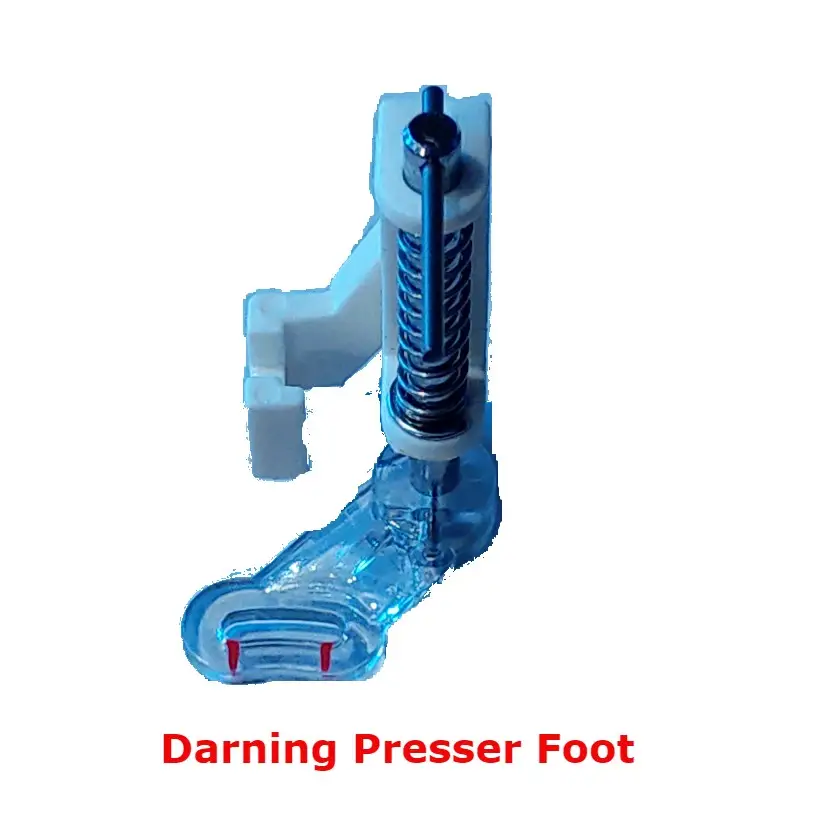
6. Darning / Machine embroidery / Painting by needle: Couching, darning & machine filled embroideries need free movement of fabric under the stitching line. In these cases, the bottom feed dog gear cannot be used to guide the fabric as we might not be making linear stitches all the time. The feed dog is either lowered or covered in this scenario and special spring-loaded presser foot attachments are used. These attachments allow free movement of fabric in multiple directions and keep the fabric flat under the sewing needle at the same time.
Spring-loaded Presser Feet
7. Stitching special fabrics: Speciality fabrics like leather, suede, fur etc. risk fabric damage under ordinary presser feet. Also, these fabrics because of their specialised surface finishes, do not provide smooth movement while stitching. Presser feet with a lightly engraved roller attachment facilitates smooth movement of fabric under the presser foot and sewing needle to ensure uniform stitching.
8. Stitching fullness: Presser foot attachments also have modified designs available for stitching fullness like gathers, pleats and pin-tucks. These professional presser feet can be effectively used for stitching gathers, ruffles and pleats as a one-step process instead of multiple steps required in the traditional process. These attachments can be huge time-saviours for professional sewing projects.
9. Attaching buttons & making buttonholes: If you are keen on completing all the construction details on machine, this attachment can prove handy for sewing buttons and making button-holes as per the size of the buttons. As in case of embroidery, the feed dog is lowered or covered while using this attachment as a liner line of stitch is not required. The attachment is also spring-loaded to ensure movement of fabric under the presser feet.
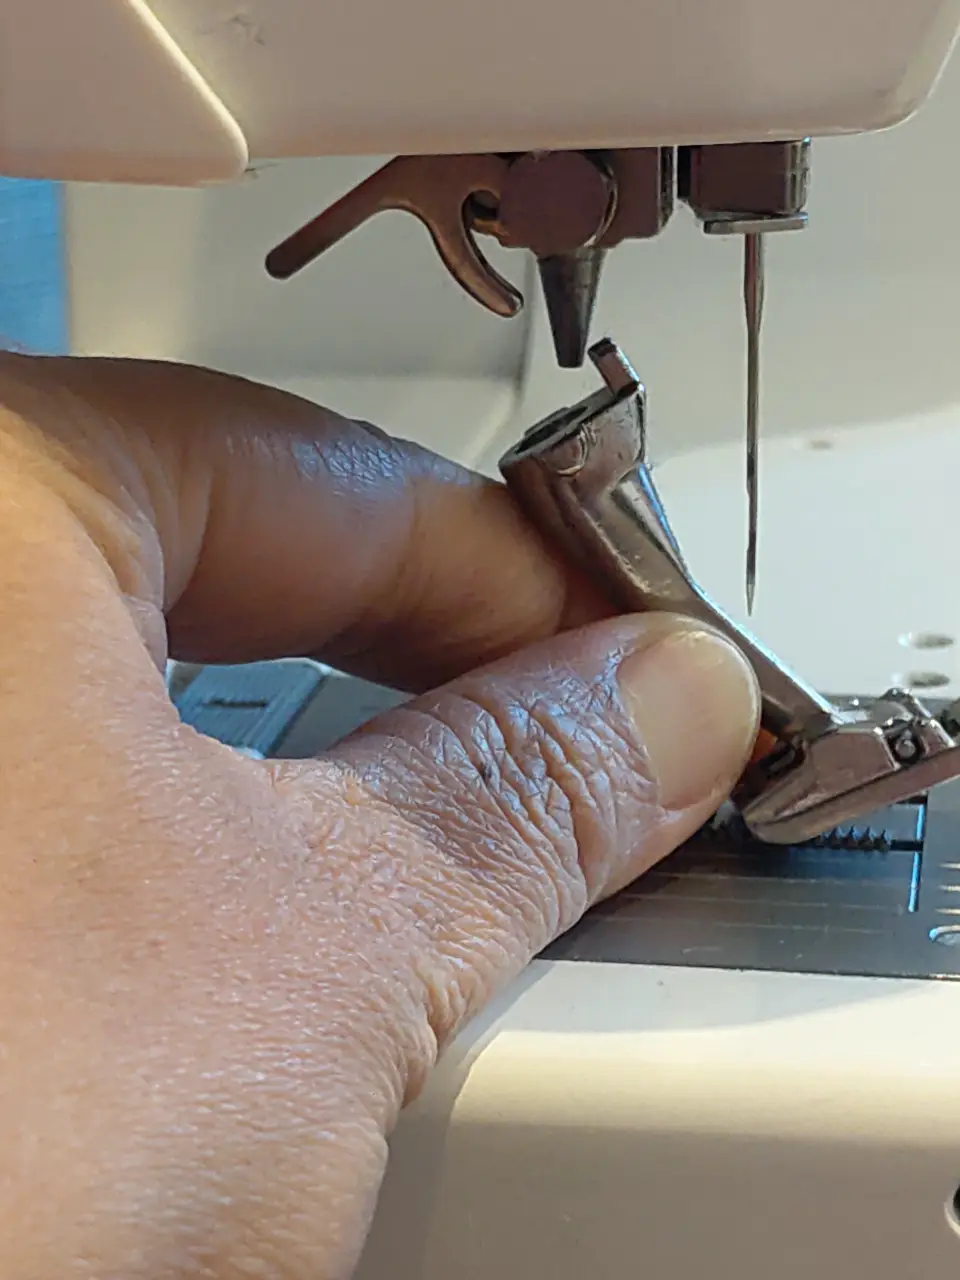
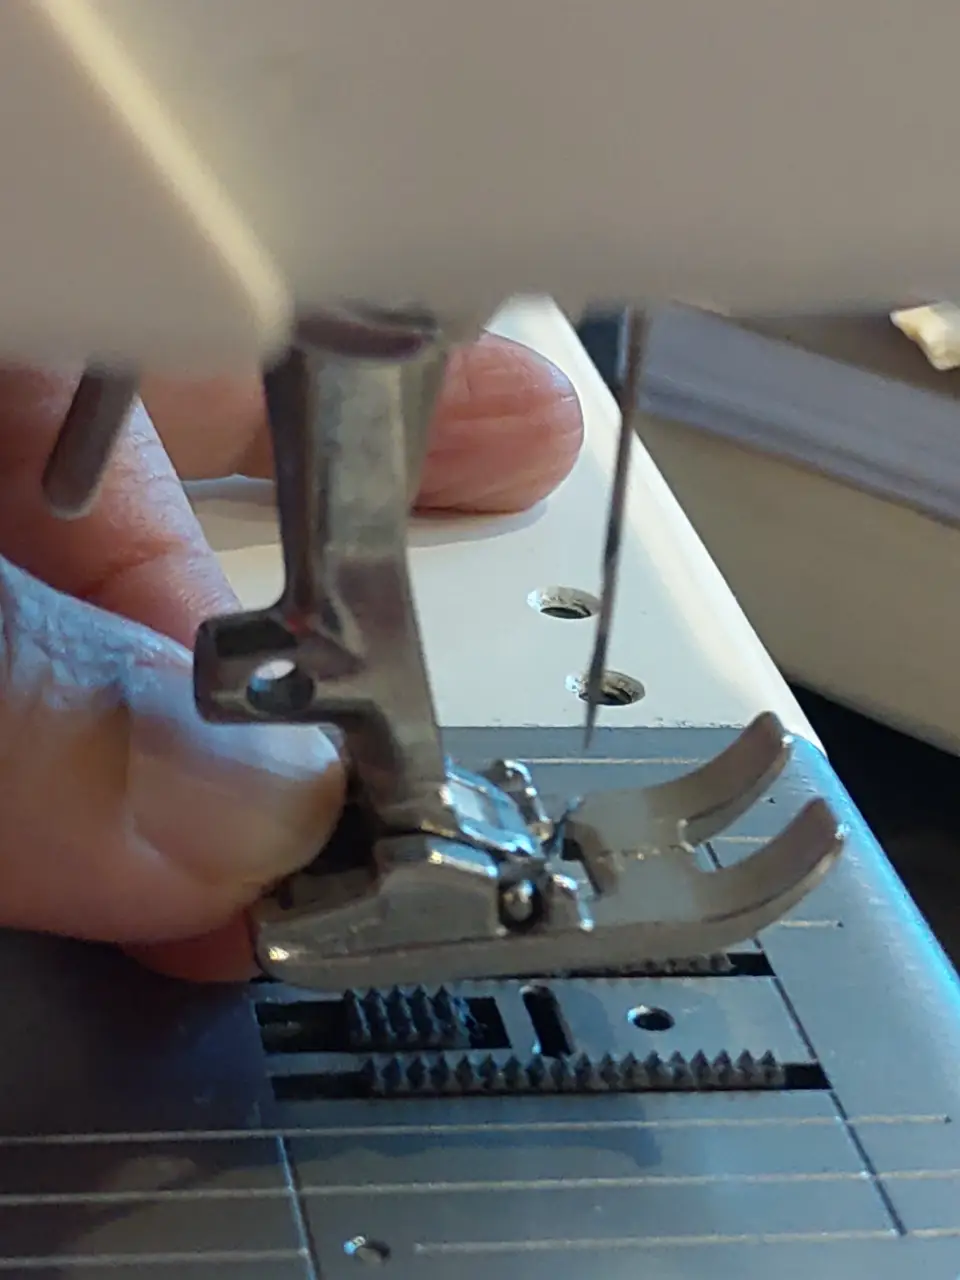
Changing Presser Foot in a Sewing Machine: Sewing machines of different brands would have different mechanisms for changing the presser foot. In most cases it is the flat feet that slides out of the bottom of the stem. For installing some of these like a zipper attachment, there is a clamp at the back of the presser foot stem, which can be used to loosen the existing foot and insert a new one. However, in any sewing machine design, the basic thumbrule is to rotate the hand wheel till the needle is raised at the highest position. The presser foot clamp should be raised before changing a presser foot. The clamp should be lowered and secured back in place once the new presser foot has been installed.